



Planting and Growing bishop's mitre

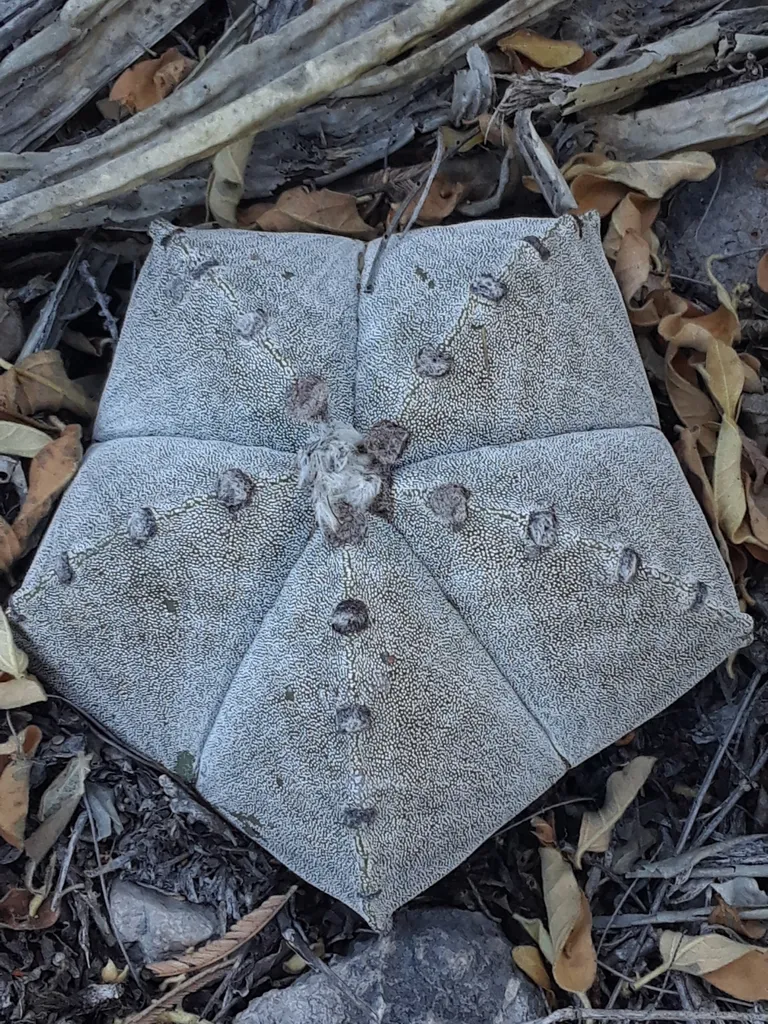
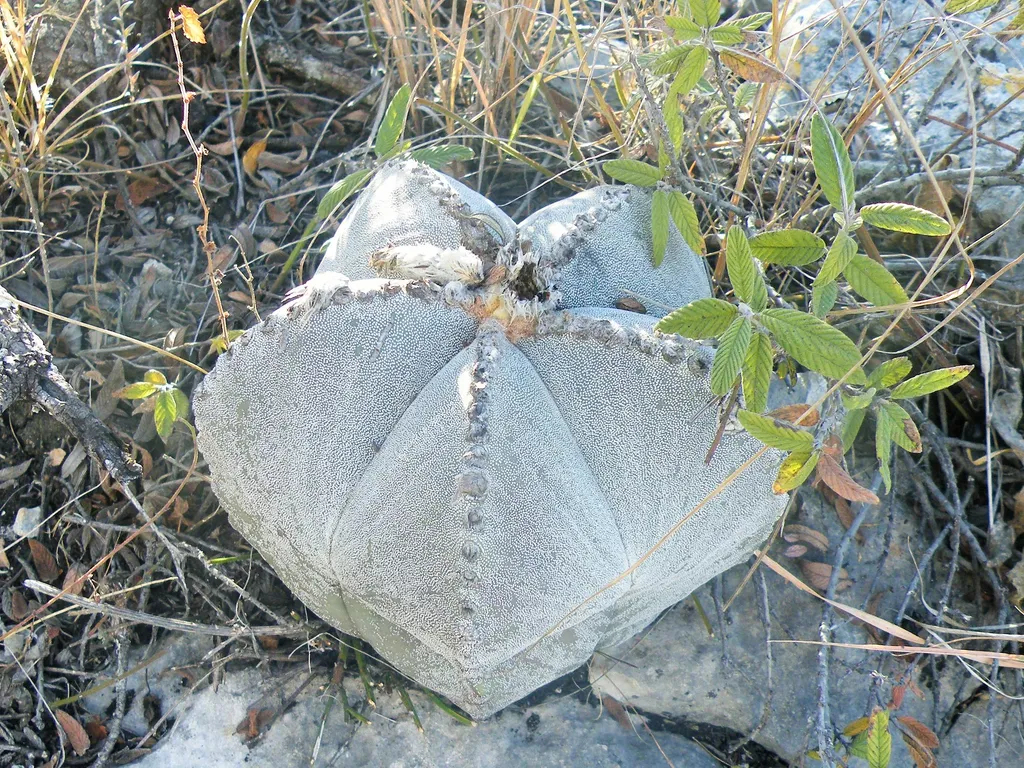
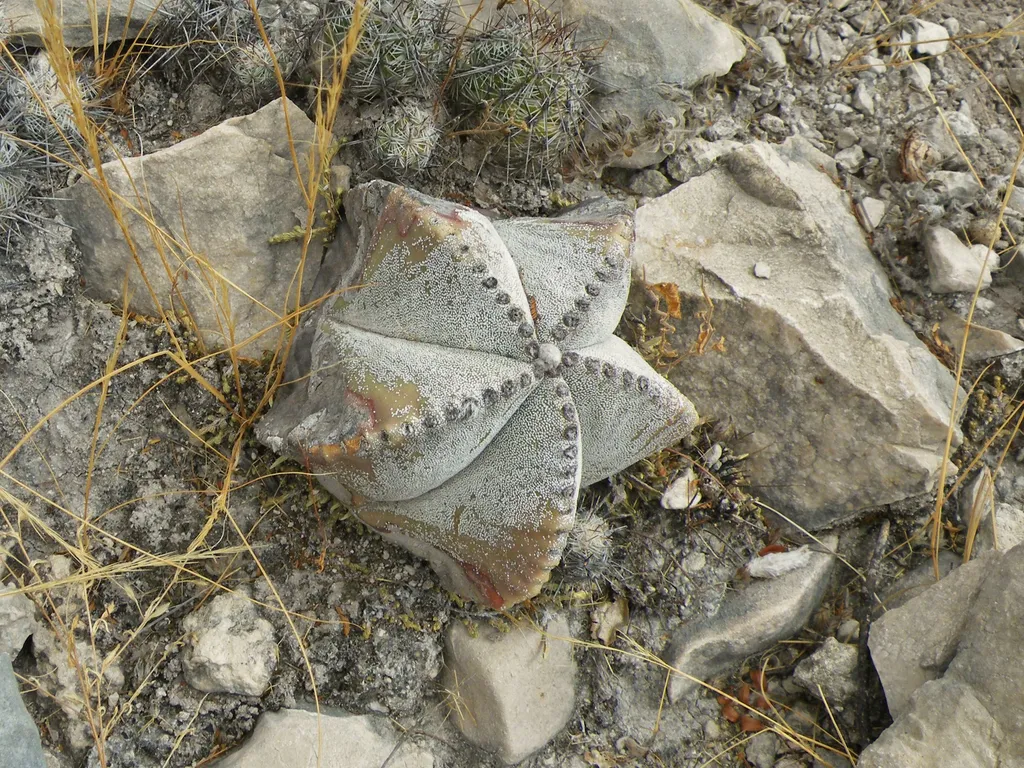
| Care difficulty | 3 / 5 |
|---|---|
| Watering schedule | Deep watering only after full dryness, keep roots dry in cool weather |
| Sunlight requirements | Full sun |
| Ideal temperature | 18 – 28 °C |
| Soil type | Chalk · Sand |
| Soil pH | Alkaline · Neutral |
| Soil moisture | Well drained |
| Fertilizing | Very weak cactus feed once monthly during warm active growth period |
| Toxicity | Information to be completed |
How to Water bishop's mitre?
Adapted to arid environments, bishop's cap cactus thrives with minimal moisture, showcasing a high drought tolerance. Its natural habitat's infrequent rainfall patterns have shaped its water storage strategies, allowing it to sustain itself with sparse hydration. Accordingly, bishop's cap cactus requires watering once every three weeks to mimic its native conditions. Preferring well-draining soil, this cactus benefits from a thorough watering followed by a complete drying of the soil before the next irrigation. As an indoor plant, bishop's cap cactus's ability to flourish in low-humidity settings makes it an ideal candidate for dry interior climates where less frequent watering is conducive to its health.
Learn more →What Are the Sunlight Requirements for bishop's mitre?
Bishop's cap cactus thrives in full sun, requiring ample daily sunlight for robust growth, ideal health, and to facilitate flowering. However, its light tolerance allows some flexibility; bishop's cap cactus can endure less intense light for short periods, though prolonged exposure to shade can impede its development and bloom production. Notably, bishop's cap cactus can exhibit a color transformation in response to sunlight, intensifying in hue with adequate light. For indoor cultivation, a sunny windowsill is ideal, while outdoor plants excel in unobstructed areas that receive direct sun for the majority of the day.
Learn more →What Is the Ideal Temperature Range for bishop's mitre?

Bishop's cap cactus is notably resilient to temperature fluctuations, enduring cold down to 0℃ (32℉) and extreme heat up to 43℃ (110℉). This tolerance permits bishop's cap cactus to thrive in various climates, although care adjustments are necessary in severe conditions. In cold environments, frost protection is crucial to prevent damage. Conversely, during excessive heat, shading and increased watering might be required to avoid overheating symptoms like yellowing or shriveling. By recognizing these tolerance thresholds and symptoms, caretakers can ensure bishop's cap cactus remains healthy and robust.
Learn more →What Soil Is Best for bishop's mitre?
Bishop's cap cactus requires well-draining soil with ample aeration to prevent root rot. A suitable soil mix can be a commercial 'succulent & cactus soil' or a homemade mix of equal parts potting soil, coarse sand, and perlite. For better drainage, add gravel to the pot's bottom. Incorporate a low-nitrogen fertilizer yearly for optimal growth. Avoid over-complicated terminology to ensure the summary's utility across varying gardening expertise levels.
- Soil type
- Chalk · Sand
- Soil pH
- Alkaline · Neutral
What Are the Moisture Requirements for bishop's mitre?
Well drained
Learn more →How to Fertilize bishop's mitre?

Fertilize bishop's cap cactus with a balanced cacti food every 6-8 weeks during its active growth in spring and summer. Reduce to quarterly in fall and suspend in winter as bishop's cap cactus enters dormancy. Dilute fertilizer to half the recommended strength to prevent root burn, promoting healthier growth and potential blooms. Apply to moist soil, never dry, to prevent root shock. Adjust seasonally as bishop's cap cactus's growth cycle dictates; less is often more with cacti fertilization.
Learn more →How to Prune bishop's mitre?

Bishop's cap cactus does not require much pruning. Remove withered flowers and branches so the plant uses nutrients on healthy growth.
Learn more →How to Propagate bishop's mitre?

Bishop's cap cactus is known for its unique star-shaped structure and smooth, ribbed surface. To propagate bishop's cap cactus, sowing is the preferred method, leveraging its capability to produce seeds that germinate successfully in well-drained soil with ample warmth and moderate moisture. Care should be taken to avoid overwatering, as bishop's cap cactus is susceptible to rot. Gentle handling of the fragile seedlings is crucial for successful growth. With patience and the right conditions, these seedlings will develop into mature, visually striking cacti.
Learn more →How to Transplant bishop's mitre?
Transplant bishop's cap cactus during the warm embrace of late spring to mid-summer for robust growth. Place in a bright, well-draining spot, protected from intense midday sun. Gentle handling is key to avoiding root distress.
Learn more →How to Plant bishop's mitre?
Indoors-potted: For an indoor setting, bishop's cap cactus thrives with ample airflow to mimic its natural arid conditions, ensuring it remains healthy and resilient. Outdoors-potted: Bishop's cap cactus, when outdoors in a pot, benefits from strategic positioning that shields it from excessive rain while still enjoying the open environment. Outdoors-in the ground: In-ground outdoor cultivation of bishop's cap cactus requires well-draining spots as standing water can be detrimental to its root system.
Learn more →How to Repot bishop's mitre?
Bishop's cap cactus, with its distinctive star-shaped form, should be repotted every 2-3 years for optimum health. Choose a well-draining container slightly larger than the current one to allow growth. Repot in spring to leverage the growth cycle. After repotting, water sparingly and provide plenty of sunlight to help bishop's cap cactus adapt and flourish.
Learn more →How to Harvest bishop's mitre?

Most fruits of bishop's cap cactus are edible. Pick the fruit when they turn red. Avoid food safety issues by confirming the species with experts. Wear gloves or use scissors and other tools to harvest.
Learn more →Common Pests & Diseases

Diseases
Generally disease free
Pests
mealybugs may be a problem
Explore the plant health library →Troubleshooting
Soft Black Basal Rot or Shriveling Stems
bishop's mitre (Astrophytum myriostigma) is adapted to arid habitats and rots quickly if watered in cool weather or potted in moisture-retentive soil.
| What you notice | Possible explanation | What to check next |
|---|---|---|
| Base of the stem turns dark brown/black, soft, or mushy | Basal stem rot or root rot from overwatering, poor drainage, or cool damp winter conditions | Gently test stem firmness near the soil line with a blunt stick (avoiding spines) |
| Ribs or stem segments shrink and wrinkle deeply while soil is bone dry during warm growth | Dehydration during active spring-summer growth | Check soil dryness and confirm whether temperatures are warm |
| Corky tan scarring near the soil line without softness | Normal age-related corking supporting mature stems | Confirm the tissue is hard and dry rather than mushy |
- Use a gritty, sharply drained mineral cactus/succulent mix (with coarse sand, pumice, or grit) in a container with drainage holes.
- Water thoroughly only after the soil has dried completely during warm spring and summer growth, and keep nearly dry during cool winter dormancy.
- Place in very bright light or direct sun (acclimating gradually to intense summer sun to avoid bleached sunburn patches).
Stop watering immediately if soft black rot appears at the base; discard rotted specimens before fungal pathogens spread.
Etiolated Thin Tips or Mealybugs/Scale
Low light causes narrow, pale new growth at tips, while mealybugs and scale hide in ribs and leaf axils.
| What you notice | Possible explanation | What to check next |
|---|---|---|
| New top growth narrows into a thin, pale green point | Insufficient bright light (etiolation) | Assess daily sun exposure at the window |
| White cottony tufts in ribs/areoles or crusty bumps on stems (distinct from Astrophytum's uniform natural white flecking) | Mealybugs or scale insects | Inspect stem ribs, graft union, or leaf bases closely |
- Move gradually into brighter light so new growth develops normal thickness and structure.
- Isolate pest-infested plants and dab visible mealybugs or scale with rubbing alcohol on a cotton swab.
- Prune out damaged or dead lower leaves/stems in spring with clean tools.
Note that tiny white wool dots across Astrophytum myriostigma ribs are natural protective trichomes—do not scrape them off.