



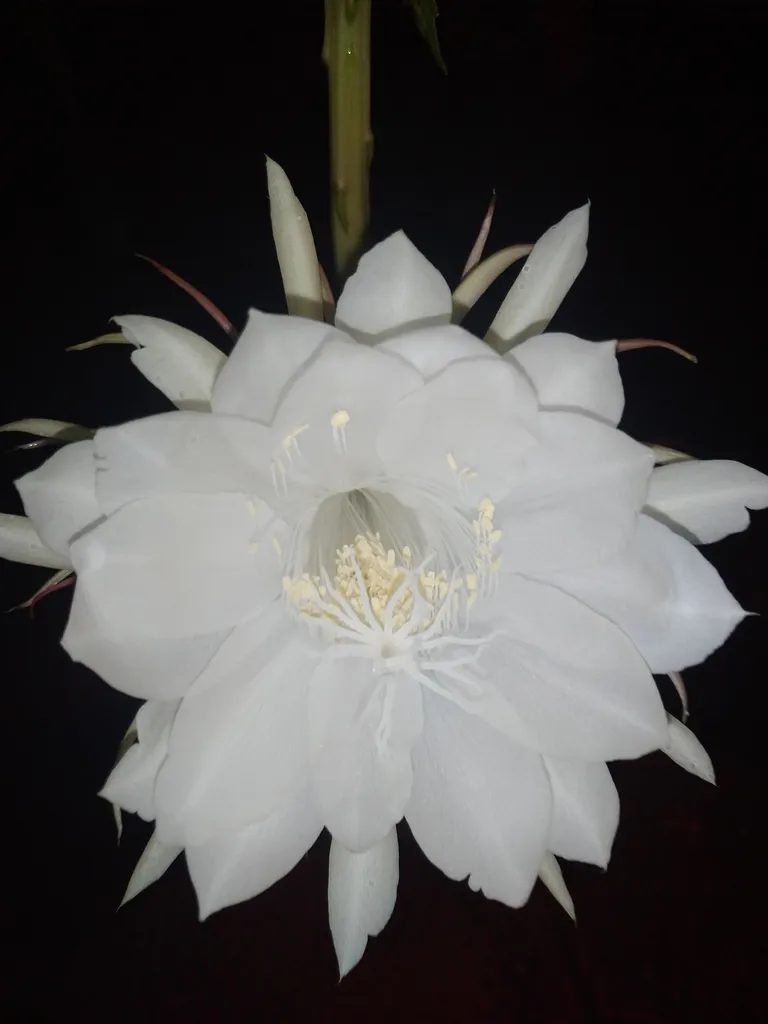
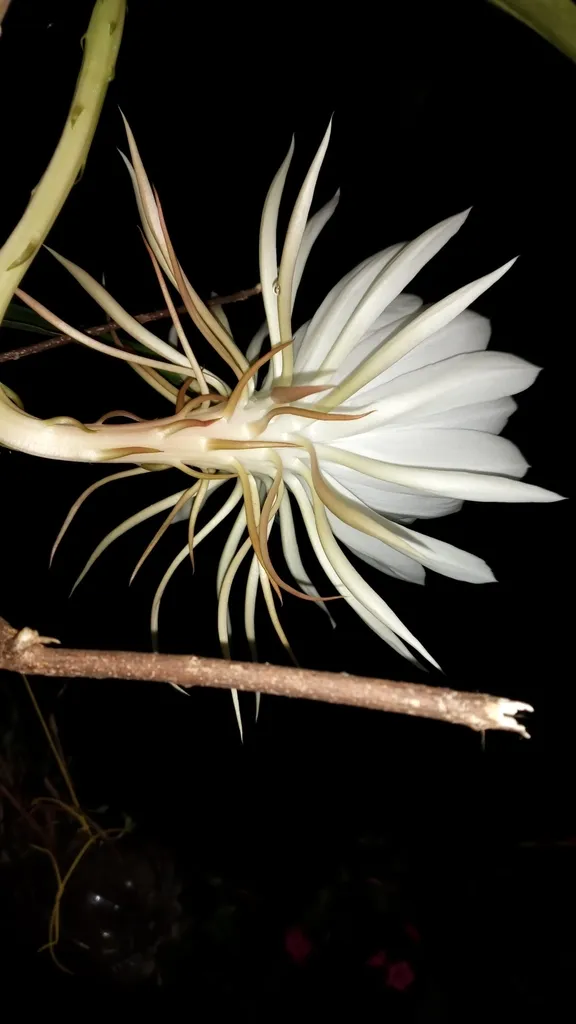
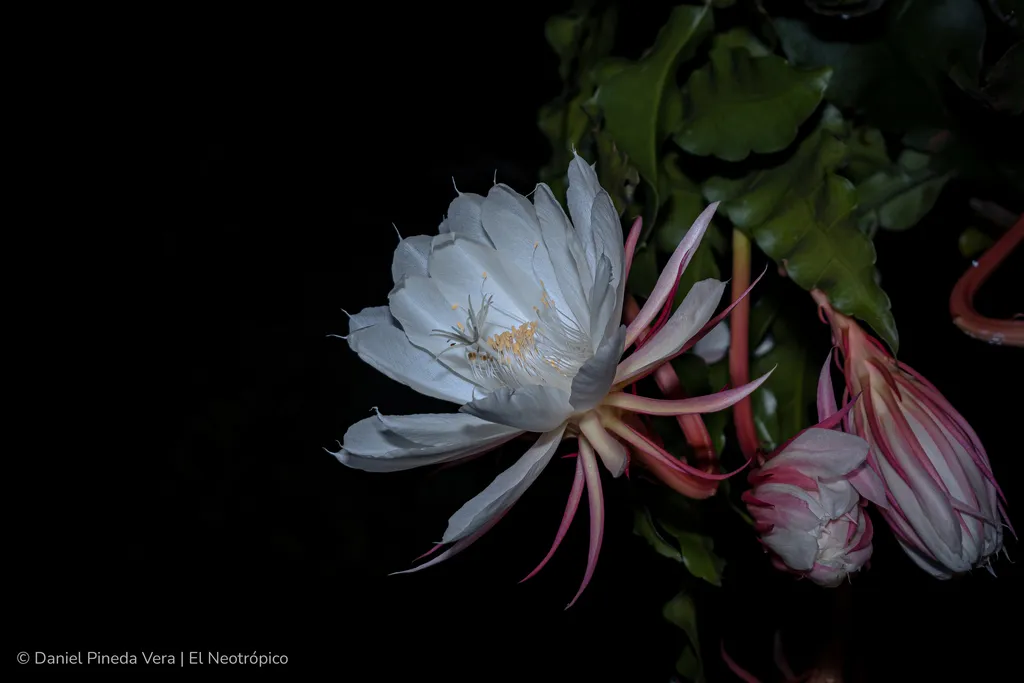
Planting and Growing queen of the night

| Care difficulty | 2 / 5 |
|---|---|
| Watering schedule | Let soil dry almost fully then soak thoroughly through substrate |
| Sunlight requirements | Partial shade |
| Ideal temperature | 15 – 25 °C |
| Soil type | Loam · Sand |
| Soil pH | Acid · Alkaline · Neutral |
| Soil moisture | Moist but well drained |
| Fertilizing | Low-nitrogen cactus feed monthly warm active growth months |
| Toxicity | Information to be completed |
How to Water queen of the night?
Queen of the night thrives in environments that mimic its native tropical habitat, where high humidity and sporadic rainfall are the norms. This species is accustomed to periods of dryness followed by heavy watering, which contributes to its drought tolerance. For optimal growth, queen of the night should be watered once every two weeks. Cultivated primarily as an indoor ornamental due to its nocturnal blooming habit, queen of the night benefits from being placed in areas with higher ambient moisture, reflecting its affinity for humid conditions.
Learn more →What Are the Sunlight Requirements for queen of the night?
Queen of the night thrives in partial sun, receiving bright but indirect light which is integral for its vigorous growth and blooming. While it can withstand full shade, its flowering potential may diminish. Conversely, excessive exposure to full sun can lead to stress and leaf burn, inhibiting growth and floral development. Ideally positioned in east or west-facing locations indoors, queen of the night adapts by modifying leaf orientation to optimize light absorption. Outdoors, it fares best under the shelter of taller plants or awnings, which mimics its native understory habitat.
Learn more →What Is the Ideal Temperature Range for queen of the night?

Queen of the night displays notable sensitivity to temperature fluctuations, tolerating temperatures from 5℃ (41℉) to 43℃ (109℉). Below 5℃, symptoms such as leaf discoloration and tissue damage may occur, necessitating indoor relocation or protective covers. Similarly, temperatures exceeding 43℃ can lead to wilting and sunburn. It's crucial to monitor and adjust environmental conditions to prevent stress. In case of overcooling, prioritize warming measures like mulching or using heat lamps. For overheating, provide shade and increase humidity through misting. Understanding these tolerance ranges helps ensure queen of the night's healthy growth, particularly in regions with extreme weather patterns.
Learn more →What Soil Is Best for queen of the night?
Queen of the night requires well-draining soil as it's particularly prone to root rot. A suitable soil mix can be a commercially available succulent and cactus mix. If not available, combine equal parts of potting soil, perlite, and orchid bark to ensure proper aeration and drainage. During the growing season, a balanced, water-soluble fertilizer can be added monthly to promote health and growth. Maintaining proper drainage is crucial to avoid water-logging and ensure the well-being of queen of the night.
- Soil type
- Loam · Sand
- Soil pH
- Acid · Alkaline · Neutral
What Are the Moisture Requirements for queen of the night?
Moist but well drained
Learn more →How to Fertilize queen of the night?

For optimal growth, queen of the night flourishes with fertilization every two weeks during the growing season (spring to early fall) using a diluted succulents/cacti fertilizer. This regimen boosts flowering potential and overall health. Reduce feeding to once a month in the dormant period (late fall and winter). Apply at a quarter strength to avoid overfertilization, which can harm roots and foliage. Consistent fertilization can lead to more robust growth and blooms, enhancing queen of the night's natural beauty. Novices should ensure the soil is moist before application to prevent root burn.
Learn more →How to Prune queen of the night?

Queen of the night does not require much pruning. Remove withered flowers and branches so the plant uses nutrients on healthy growth.
Learn more →How to Propagate queen of the night?

Belonging to the cactus family, queen of the night is a unique species that thrives in well-draining soil with regular watering and bright, indirect light. Known for its stunning nocturnal blooms, successful propagation primarily involves cuttings. To propagate, take a healthy piece from the mother plant's leaf or stem, let it form a callous for a few days to prevent rotting, then plant it in suitable cactus mix. Keeping the soil moist but not waterlogged encourages rooting. Consistency in warmth and partial shading fosters vigorous growth.
Learn more →How to Transplant queen of the night?
Transplanting queen of the night thrives best when done from late fall to the chilly embrace of late winter. Choose a location with well-drained soil and partial shade. When transplanting, gently loosen roots and maintain consistent moisture. Happy growing!
Learn more →How to Care for queen of the night in Winter?

Queen of the night hails from the sultry climates of Mexico and is a tropical cactus that doesn't naturally experience winter. Queen of the night's no cold lover and should be brought indoors once temperatures dip below 50°F (10°C). Its growth pauses in winter - a key adaptation aimed at energy conservation. For optimal winter care, place queen of the night in a cool, well-lit area, cut back on watering, and avoid feeding to emulate this dormant period.
Learn more →How to Plant queen of the night?
Indoors-potted: Ensure queen of the night in indoor pots has ample space to accommodate its growth, especially as it's known for large, nocturnal blooms that require room to flourish. Outdoors-potted: When potted outdoors, queen of the night thrives with a bit of shelter; too much exposure can hinder the spectacular night-time flowering spectacle it's famed for. Outdoors-in the ground: Queen of the night, when planted in the ground, prefers a cozy spot with some cover to protect its delicate flowers and succulent foliage from harsh elements.
Learn more →How to Repot queen of the night?
The queen of the night flourishes as an epiphytic cactus, with large, fragrant blooms. Repot every 2-3 years in spring to accommodate its growth. Select a pot that's 20-25% larger than its root ball to ensure adequate space. Post-repotting, use well-draining soil and place in bright, indirect light, avoiding direct sunlight. Minimal watering is needed, allowing soil to dry out between watering sessions for optimal health.
Learn more →How to Harvest queen of the night?

Most fruits of queen of the night are edible. Pick the fruit when they turn red. Avoid food safety issues by confirming the species with experts. Wear gloves or use scissors and other tools to harvest.
Learn more →Common Pests & Diseases

Diseases
Generally disease-free
Pests
May be susceptible to mealybugs
Explore the plant health library →Troubleshooting
Wrinkled, Limp, or Shriveling Stems
In queen of the night (Epiphyllum oxypetalum), flat, spineless, leaf-like stems lose firmness either when epiphytic roots dry out completely or when soggy substrate damages root uptake.
| What you notice | Possible explanation | What to check next |
|---|---|---|
| Stems feel thin, wrinkled, and papery while the potting mix is bone dry throughout | Underwatering or overly coarse bark mix drying faster than roots can absorb | Feel two inches below the surface and check pot weight before watering |
| Stems are limp or yellowing near the soil line while the mix stays wet and heavy | Root rot from waterlogged potting soil or blocked drainage holes | Slide the root ball out gently to inspect for brown, mushy roots versus firm pale roots |
| Older woody cylindrical basal stems become corky without softness | Normal lignification supporting heavy arching stems as the plant matures | Confirm the upper green segments remain firm and plump |
- Check substrate moisture deeply; if completely dry, soak thoroughly until water drains freely and empty the saucer.
- If roots are soggy or decaying, trim away dead tissue with sterilized blades and repot into an airy epiphytic cactus mix (bark, perlite, and peat-free compost).
- Provide sturdy trellis or hanging-basket support so long arching stems do not kink or snap at the base.
- Keep in bright, filtered light away from harsh midday sun that dehydrates flat stems.
Stop watering immediately if stems turn soft, black, or water-soaked at the base, and isolate the plant.
Do not rely on stem wrinkling alone to water without checking root moisture, as root loss mimics drought.
Failure to Bloom or Dropping Flower Buds
Bud blast and lack of large, fragrant nocturnal white flowers in late spring or summer commonly stem from sudden environmental shifts, insufficient light, or lack of a cool rest period.
| What you notice | Possible explanation | What to check next |
|---|---|---|
| Small flower buds form along stem notches, turn yellow or pink, and drop before opening | Sudden drafts, temperature swings, moving the pot, or letting the root zone swing from bone dry to flooded | Check for nearby heating/AC vents, cold windows, or recent relocation |
| Vigorous leafy stem growth with no flower buds year after year | Insufficient bright filtered light, excessive nitrogen fertilizer, or overly warm winter conditions without rest | Assess daily light exposure and review fertilizer type |
| Cottony white clusters in stem notches or sticky residue on stems | Mealybug or scale infestation feeding on sap and weakening bud development | Inspect stem crevices and notch margins closely under bright light |
- Keep the plant in a stable, bright, indirect-light spot once buds appear and avoid rotating or moving the container.
- Provide a cooler, drier rest period in late autumn and winter while maintaining frost-free temperatures above 10°C (50°F).
- Switch to a dilute low-nitrogen or high-potassium fertilizer during active spring-summer growth and stop feeding in winter.
- Wipe isolated mealybugs from notches using a cotton swab dipped in rubbing alcohol and isolate affected pots.
Escalate to targeted pest management or discard heavily infested stock if mealybugs persist inside dense root zones.