
How to Grow Aloe Vera: Planting and Care
Learn how to grow aloe vera, including how much water and sunlight it needs, how to harvest its gel, and what to do if the leaves turn brown or yellow.
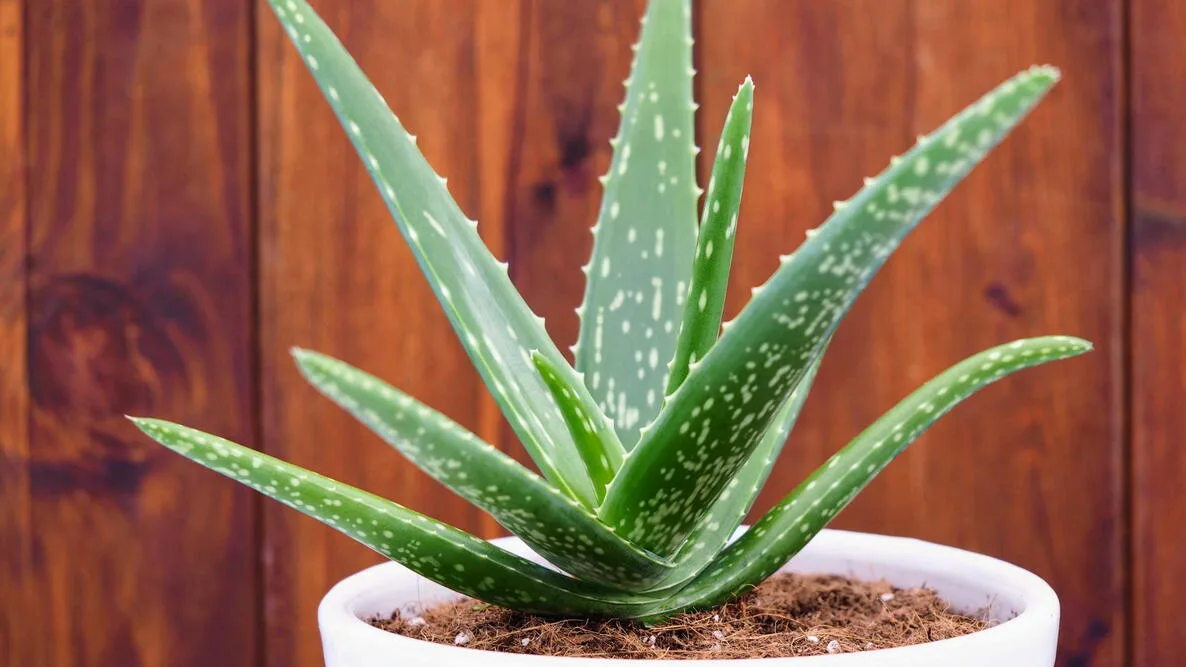
Aloe there! Want to grow aloe vera? Plant it in a pot with drainage holes and put it on a sunny windowsill. The trick is to let the potting mix dry out between waterings—this succulent needs less water than you might think! Just keep it out of paw’s reach, as aloe vera is toxic to cats and dogs if eaten.
Whether you’re a first-time plant grower or want to expand your indoor jungle, this aloe vera plant care guide is for you. We’ll show you how to get your aloe vera settled in, keep it healthy through the seasons, and what to do if your aloe vera starts turning brown or yellow.
Planting
When to Plant Aloe Vera
You can plant aloe indoors at any time of the year—yep, they’re that easy! I find they settle in best when planted in spring, which is when they’re actively growing.
Where to Plant Aloe Vera
Sunlight: Place your potted aloe vera where it gets at least 4-6 hours of bright, indirect sunlight. A south- or east-facing windowsill that pets can’t reach is a great choice for indoor aloe vera plants.
If keeping your potted aloe plant outside, pick a sunny spot that gets some shade during the hottest part of the day, especially if you live in a hot climate.
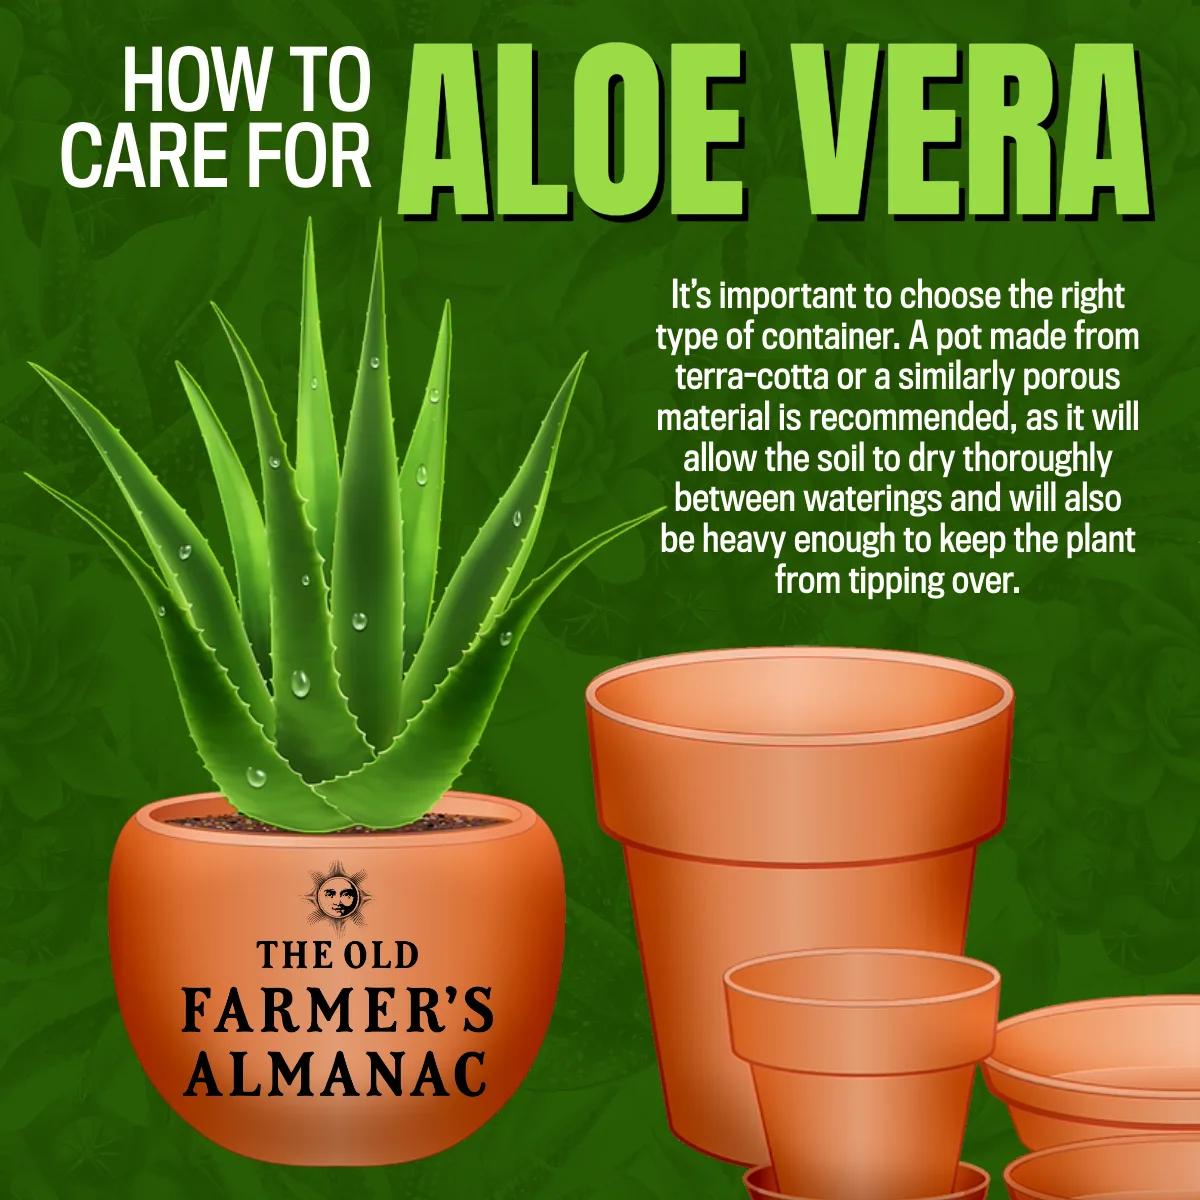
Pot type: Use terracotta pots (the familiar reddish-brown clay kind) with holes in the bottom so extra water can escape.
Terracotta pots dry out faster than plastic ones, which can help prevent roots from staying too wet and rotting. They’re also heavy enough to keep plants from tipping over.
Pot size: Choose a pot that’s 1-2 inches wider across than the clump of roots and soil around your plant, called the root ball. Aloe plants don’t have extensive root systems, so they don’t need much room under the soil.
Small aloes grow well in pots measuring 4- to 6-inch across, though you may need to move them to larger pots as they grow. Learn more about when and how to repot aloes and other houseplants.
Potting mix: Use a potting mix labeled for succulents and cacti. These potting mixes are “well-draining,” meaning they’re designed to let water pass through fast so the roots don’t stay too wet.
You can also make your own aloe vera potting mix—just blend 2 parts standard potting mix, 1 part perlite or pumice, and 1 part grit or horticultural sand.
Did you know? If winters are mild where you live, you can plant aloes in a sunny spot in your garden. Just make sure it’s in a spot where the soil drains well.
How to Plant Aloe Vera
- Carefully remove the aloe plant from the pot it came in. Support the leaves with one hand to avoid accidentally breaking them. If the plant won’t come out easily, run a butter knife gently around the inside edge of the pot to loosen the soil.
- Add potting mix to the bottom of the new pot—several inches is usually a good starting point. Gently remove some of the old soil or potting mix from around the plant’s roots.
- Place the aloe in the new pot at about the same depth it was in its original pot. Add potting mix and gently press it down with your fingers, leaving about an inch below the rim for watering.
- Let the aloe plant settle in for several days before watering.
Growing
Watering
Water aloe vera when the top 2 inches of potting mix feel dry to the touch. Pour water slowly into the potting mix until it runs out of the holes in the bottom of the pot.
I always check the potting mix with my fingers before watering to make sure it’s dry. In summer, I water my aloe vera about every 2 weeks. In winter, once a month is usually enough.
Fertilizing
- Fertilize aloe just once a year in spring if you choose. Most aloes don’t need it, but a light feeding during active growth can give them a boost.
- I recommend using a liquid organic houseplant fertilizer diluted with plenty of water so it’s not too strong.
Pruning or Maintenance
- Prune aloes only when needed. That may be very rarely, as aloes don’t need much fuss.
- Trim away damaged leaves with a sharp, clean knife, being careful not to harm healthy parts of the plant.
- As aloes grow, you might see small baby plants called “pups” popping up at the base. You can leave them attached or separate pups that have their own roots and plant them in their own pots if things are getting crowded.
Seasonal Care
Indoor aloe plants need pretty much the same care year-round. Just water them less often in winter. If you’re growing aloes outdoors, seasonal care is still pretty simple.
- In fall: Move potted outdoor aloe plants indoors before temperatures dip below 50°F.
- In spring: Let potted aloe plants gradually adjust to being outside again after the last spring frost, using a process known as “hardening off.” Start by putting your aloe outdoors in a sheltered, shaded spot for a few hours. Over the next 1-2 weeks, gradually increase its time outside and how long it’s exposed to brighter light.
Harvesting
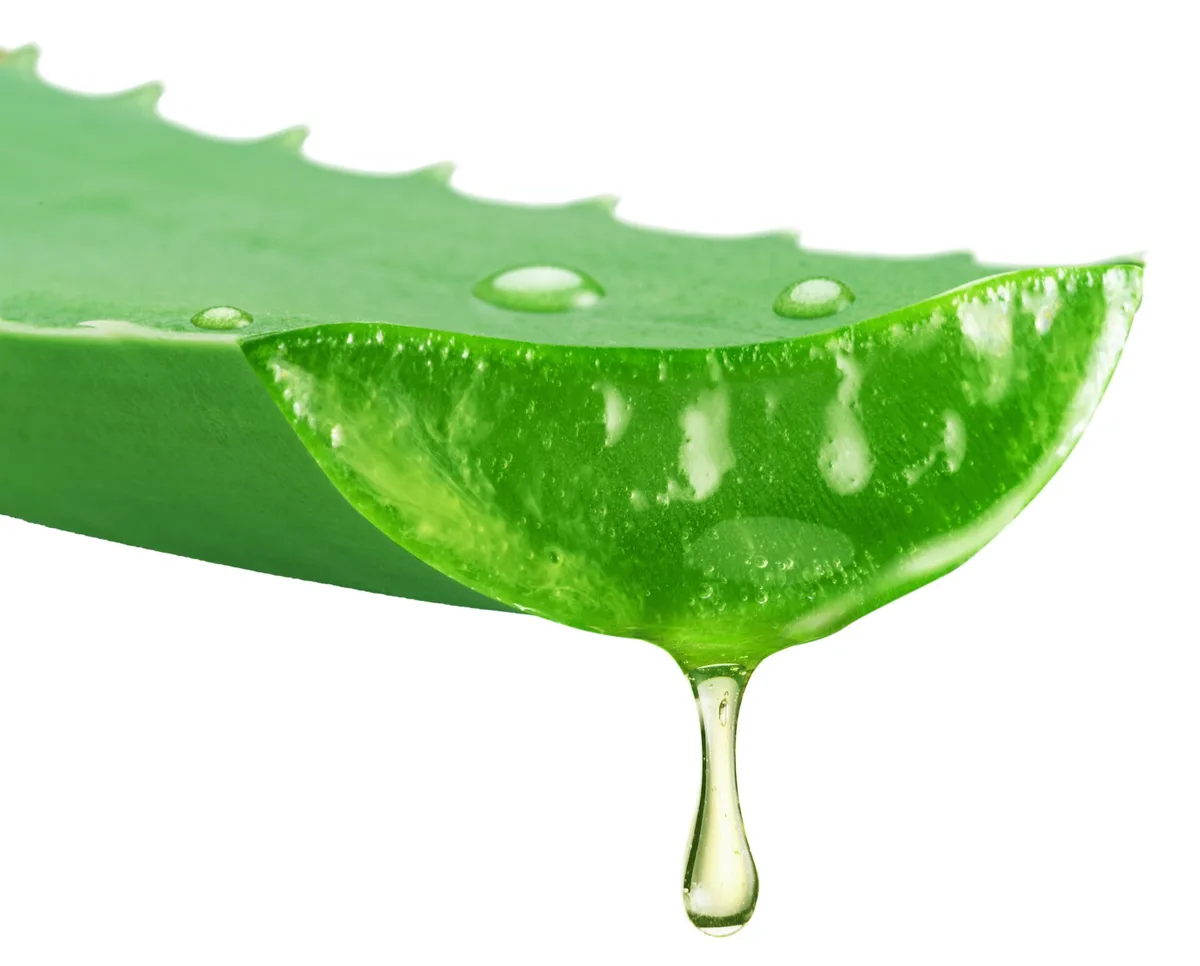
Interested in harvesting aloe vera gel? Once your plant is well established, you can remove a mature outer leaf and collect the clear gel inside. Here’s how!
When to Harvest
Choose a thick, healthy outer leaf. Leave the smaller inner leaves to keep growing.
How to Harvest Aloe Vera Gel
- Cut the leaf. Use a clean, sharp knife to remove an outer leaf close to the base.
- Drain the yellow sap. Stand the leaf cut-end down in a cup for about 15 minutes. Avoid the yellow latex, which can irritate skin.
- Remove the gel. Trim off the thorny edges and carefully remove the green skin. Scoop out the clear gel and rinse thoroughly to remove any remaining yellow sap.
Store fresh aloe gel in a clean, airtight container in the refrigerator and use it within about a week. For longer storage, freeze it in small portions.
Curious about aloe vera’s traditional uses? Read our guide to aloe vera’s benefits and uses.
Did you know? You can use a blender to get your aloe gel extra smooth!
Credit: Valentyn Volkov
Pests and Problems
Even low-maintenance plants like aloe vera can have problems from time to time.
Here’s how to spot common problems, pests, and plant diseases that might affect your aloe plants, and what to do next.
| What You See | Likely Cause | What to Do |
|---|---|---|
| Brown, mushy leaves | Overwatering | Check that your pot has drainage holes. Let the soil dry before watering again, and avoid letting the plant sit in water. |
| Yellowing leaves | Overwatering or too much sun | If the leaves feel soft or mushy, overwatering is likely to blame. Allow soil to dry out more between waterings. Repot if the soil isn’t drying quickly. If the leaves feel firm, your plant may be getting too much sun. Move it to a spot with less intense sunlight. |
| Drooping leaves | Overwatering, underwatering, or too little light | Push a finger into the potting mix. If it feels damp, wait before watering again. If it’s dry and the leaves look thin or wrinkled, water thoroughly and let the extra water drain away. |
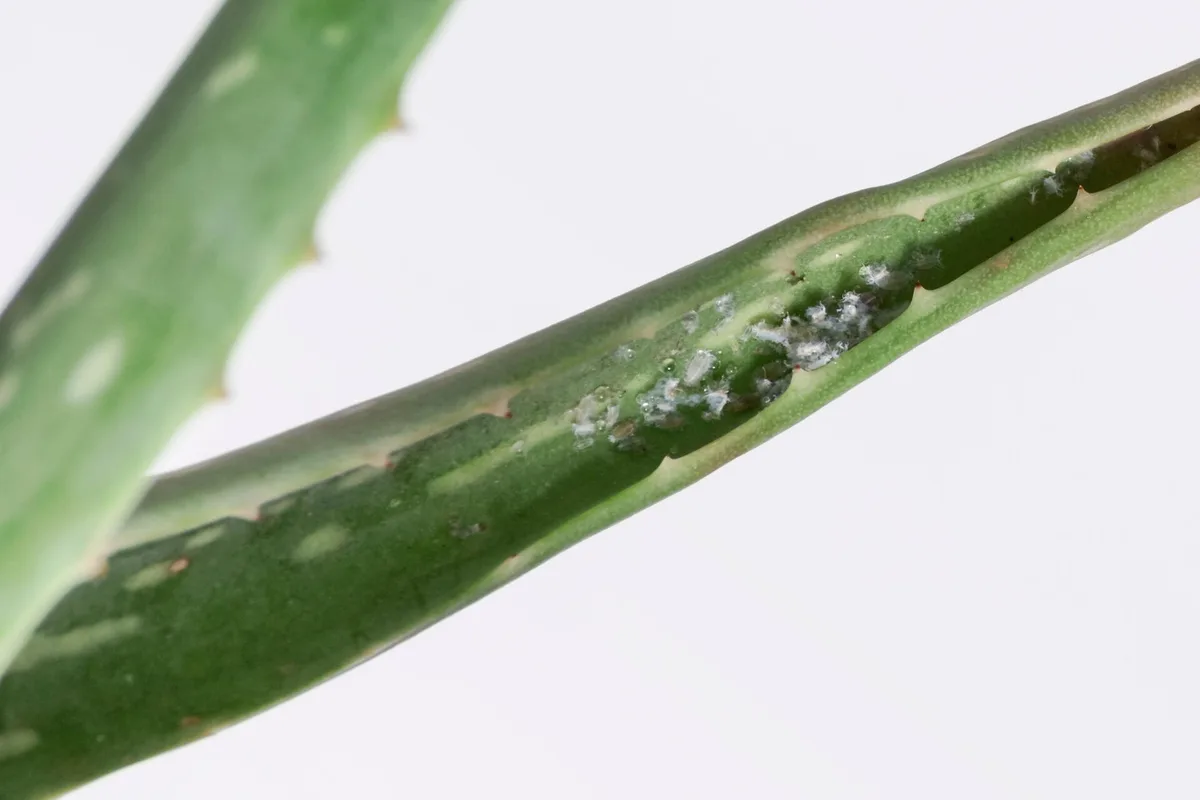
| Pests that look like cottony fluff in joints and crevices | Mealybugs | Wipe insects off with a cotton swab dipped in rubbing alcohol, or spray your plant with organic insecticidal soap or horticultural oil. |
| Pests that look like dark bumps on leaves | Scale insects | Wipe insects off with a cotton swab dipped in rubbing alcohol, or spray your plant with organic insecticidal soap or horticultural oil. Scale insects can be hard to treat, so reapply sprays if needed. |
| Mushy stems/roots, plant falling over | Root rot (from overwatering) | Remove the plant and check its roots. Trim away rotten roots, repot in fresh succulent mix, and reduce watering. |
| Dark, sunken spots on leaves; wilting | Fungal stem rot (often from overwatering) | Prune away damaged leaves. Make sure the potting mix is draining properly. Let potting mix dry completely before watering. |
Credit: LuciaR
Types
There are over 500 distinct species of aloe plants, according to NC State Extension.
Don’t let that overwhelm you, though. Here are a few beginner-friendly varieties to try:
- Aloe vera: Upright green leaves that grow fast and are filled with soothing gel. It’s the classic “true aloe,” used as a folk remedy for many years.
- Tiger aloe (Gonialoe variegata): Smooth leaves and uneven white striping (hence the tiger name)! This aloe stays small and fits well on windowsills or in small spaces.
- Lace Aloe (Aristaloe aristata): White-spotted leaves that have fine “teeth” along the edges. May tolerate cooler weather better than other varieties.
- Blue Aloe (A. glauca): Gorgeous silvery-blue leaves—it really lives up to its name! Grows bigger than the other aloes listed here.
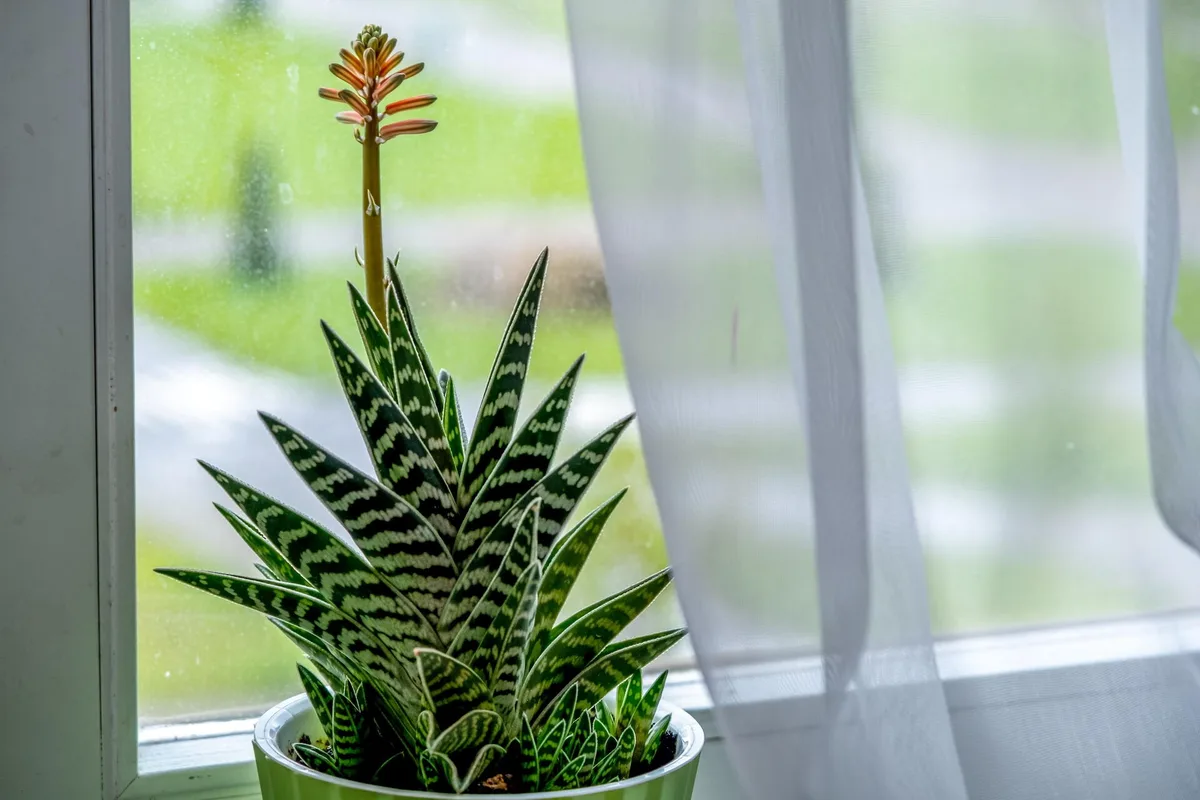
Credit: sakavichanka
Wit and Wisdom
- In traditional lore, aloe vera symbolizes regeneration, healing, and protection.
- Some believe aloe wards off the evil eye.
- The name “aloe” is said to come from Arabic or Hebrew words meaning “shining” or “bitter.”
- With proper care, aloe vera plants can live for decades.