
How to Grow and Care for Bromeliads
Learn how to grow bromeliads indoors! Easy tips on planting, watering, light, and care for bromeliads—including air plants and ornamental pineapple.
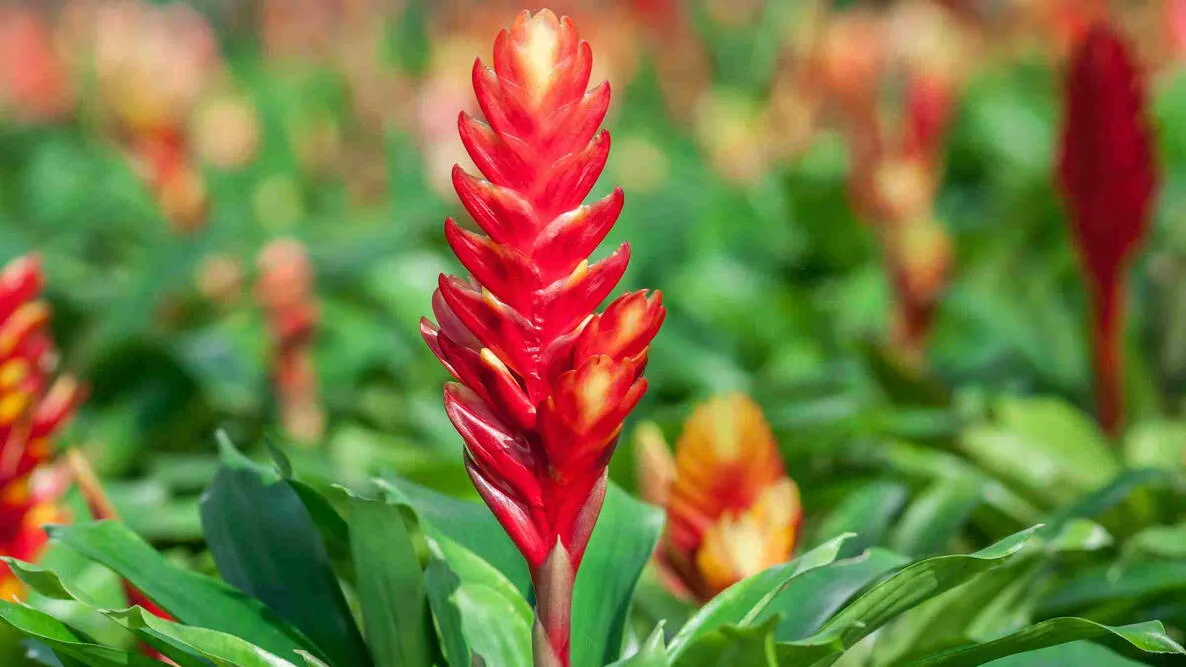
Growing bromeliads in your home makes life a bit sweeter—especially if one happens to be an ornamental pineapple! The bromeliad family also includes air plants and many other popular houseplants. Despite their tropical looks, most bromeliads are surprisingly easy to grow indoors. I’ve kept a variety of bromeliads over the years, and here are the best growing tips I’ve learned, plus common pitfalls to avoid if you want your bromeliad plants to thrive for years.
Native to North, Central, and South America, the bromeliad plant family is a diverse group with around 3,700 distinct species. Some bromeliads are terrestrial and grow in soil, but the vast majority are epiphytes that attach to trees or nestle in rock crevices, drawing nutrients and moisture from the surrounding air. When cultivated as houseplants, bromeliads don’t necessarily need pots or traditional growing medium.
With so much diversity in the family, there’s no one-size-fits-all care regimen for bromeliads, but most prefer bright indirect light and high humidity. Many bromeliads have solid green leaves that form in a tight rosette, and small, inconspicuous flowers that bloom just once within large, showy bracts. After flowering, bromeliads usually die away, but they’ll often produce babies or pups, which you can separate from the parent plant and grow on their own.
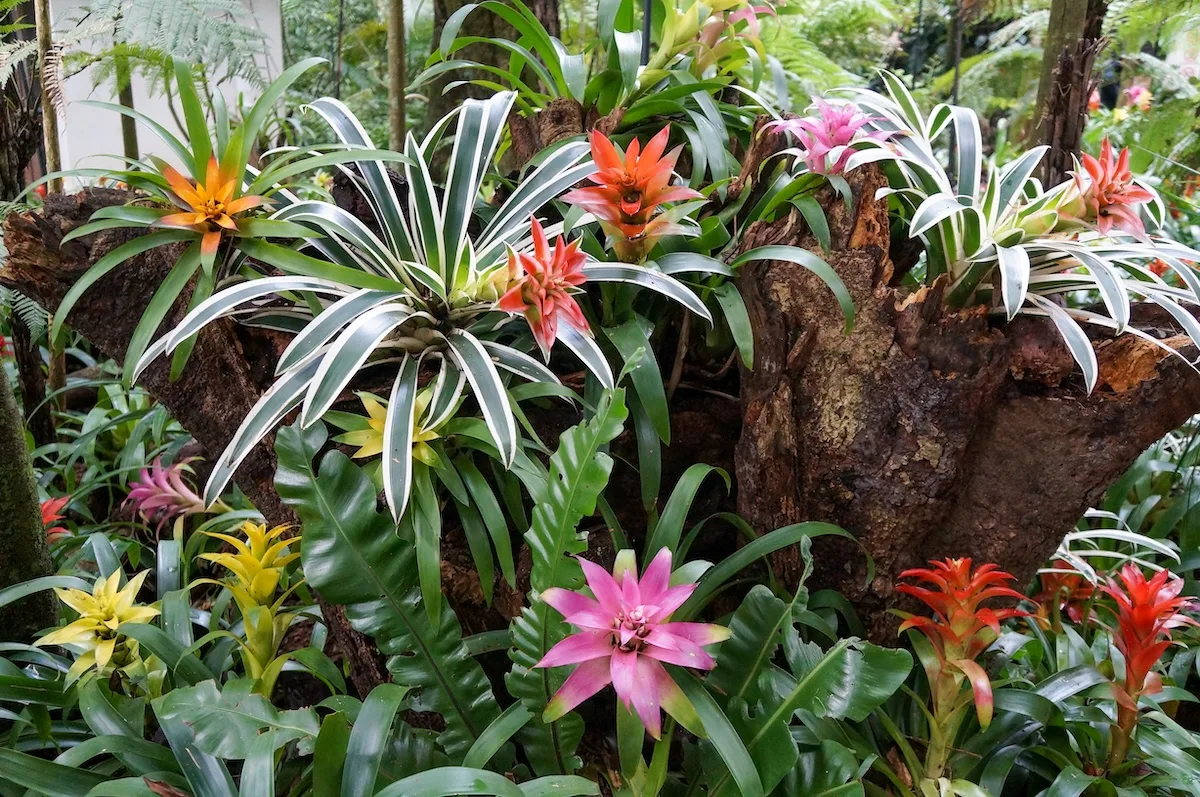
Although most bromeliads have green leaves, some varieties have striped or speckled foliage, and modern growers can find thousands of cultivars and hybrid plants with unique patterns and colors. I enjoy mixing and matching different bromeliads in my houseplant collection to showcase their variety, often pairing them with orchids, which have similar care requirements. With bromeliads ranging in size from diminutive 2-inch-tall specimens to taller varieties that stretch up to 4 feet high, there’s a bromeliad for every home!
Planting
Planting techniques vary depending on the type of bromeliad you’re growing, but some basic guidelines apply to almost all.
- Do your research: Most bromeliads grow best in dappled or bright indirect light with a well-draining, soil-free potting mix. Epiphytic bromeliads, such as air plants, don’t need growing medium at all, while fully terrestrial types may prefer a standard houseplant mix.
- Check for pests: Whenever I bring a new plant into my home, I always scrutinize it for pests like mealybugs or scale insects. If I spot any unwanted intruders, I treat them with a Q-tip dipped in rubbing alcohol, or I spray the entire plant with organic soap spray.
- Choose a well-draining potting mix: If you’re growing a standard epiphytic bromeliad, select a well-draining container and a coarse potting mix. I usually grow bromeliads in a store-bought orchid bark potting mix. Still, you can also make your own bromeliad substrate by blending equal parts of bark, rehydrated coconut coir, and either sand or perlite.
- Plant right: Standard bromeliads can be planted just like other houseplants by burying their root ball at the same depth the plant was growing in its nursery pot. You may want to wear gardening gloves when working with these plants, as some have spiky leaves that can scratch.
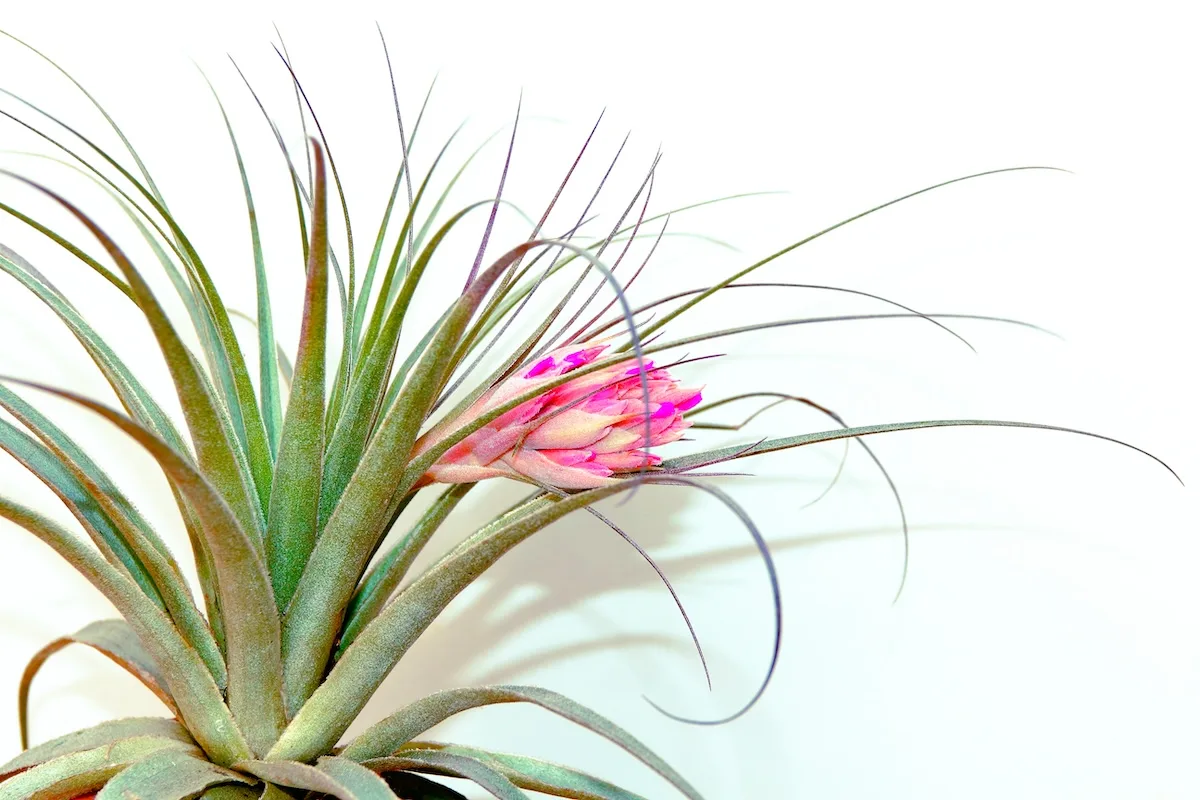
- Try soil-free options: Air plants can be mounted on bark or driftwood, or they can be displayed in terrariums. I like to mount my plants either by balancing them on a stand or loosely securing them with fishing line. I never use glue, as this can cause plant damage.
Growing
Because they have short root systems, bromeliads actually grow better when they’re confined to relatively small pots. When selecting a container for potted bromeliads, look for a pot with multiple drainage holes in the bottom that’s only slightly wider than your plant. I usually keep bromeliads in terra-cotta pots that allow extra moisture to wick away from their roots; however, these plants also work well in hanging baskets, terrariums, and humidity-controlling grow cabinets.
Pests and Problems
Most pests avoid bromeliads. The majority of problems that arise with these plants are caused by overwatering or watering in the wrong way.
- Overwatering: The leading problem with bromeliads is too much water, which can lead to root rot and mushy leaves. Allow the potting mix to dry between waterings.
- Pests: Mealybugs, scale insects, and aphids may appear, especially on outdoor bromeliads. Treat with insecticidal soap or rubbing alcohol.
- Water quality issues: Tap water often leads to leaf spotting and salt buildup. Stick with distilled or rainwater.
Types
With thousands of species and hybrids to choose from, picking your favorite bromeliad can take some time. If you’re new to hosting bromeliads, here are a few of the easier-to-care-for options to try.
- Guzmania: The most common nursery bromeliad, known for green leaves and bracts in a range of colors that flower for 4 months or more.
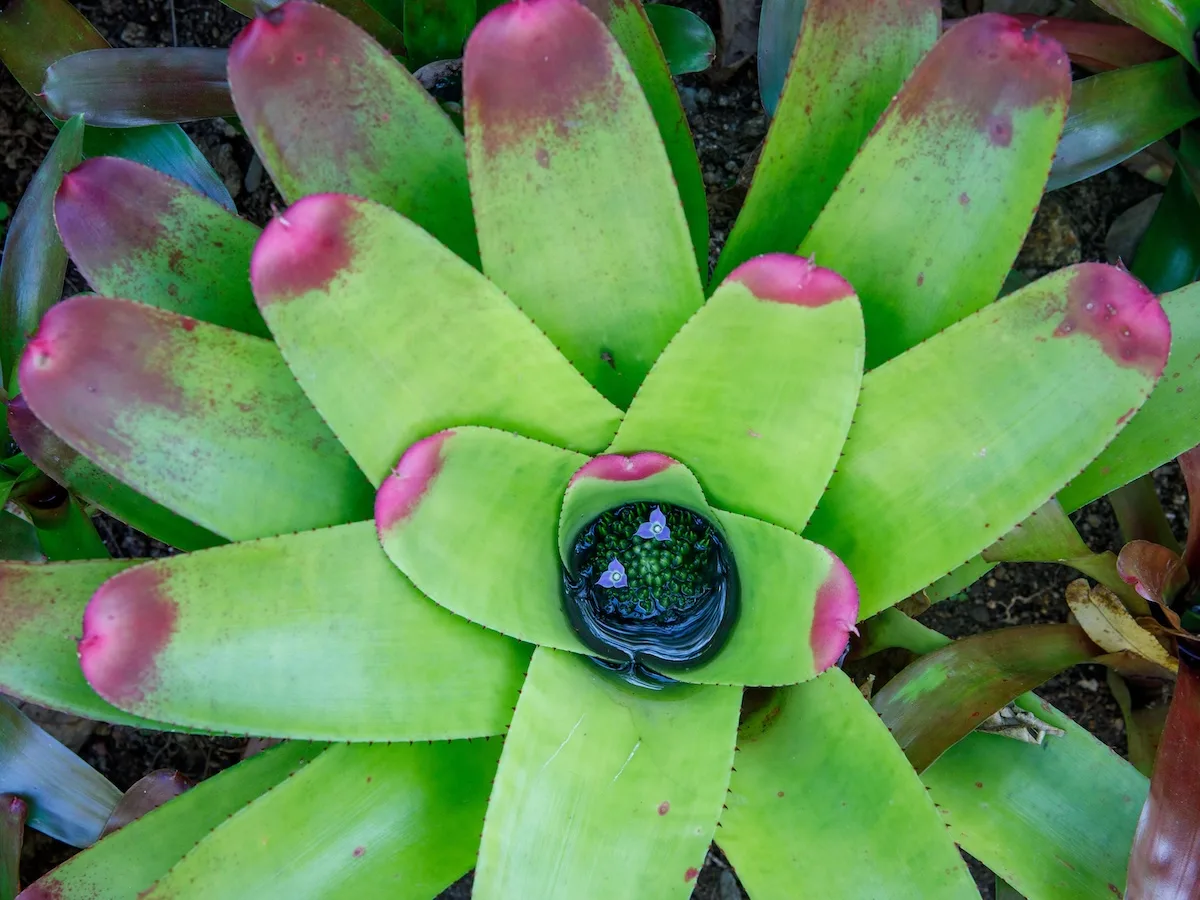
- Neoregelia: Vibrant foliage in pinks and purples, ranging from tiny 1-inch tabletop plants to large 40-inch-wide specimens.
- Tillandsia: This group of bromeliads includes air plants, which are typically small and can be mounted, hung, or displayed in terrariums.
Potting and Repotting
How Often to Repot
Bromeliads don’t mind being a little crowded in their pots and only need to be repotted every 2 to 3 years.
When to Repot
You can repot bromeliads at any time of the year, but spring is ideal!
How to Repot
- Remove the plant: Gently grasp the base of the bromeliad leaves in one hand and wiggle the container free with your opposite hand. I always wear gloves for this, as bromeliad leaves can be sharp.
- Dust off the roots: Once the plant is out of its pot, remove as much of the old potting mix from its roots as you can.
- Repot: Plant in a container that is slightly larger than the current one, at the same depth it was growing and water well.
Wit and Wisdom
- “Tank” bromeliads have a small vase-like cup in the center of their leaves, which these plants use to capture dew and rainwater. In the wild, these plants create tiny ecosystems in their leaf cups, hosting hundreds of animal and insect species, including spiders, millipedes, beetles, crabs, salamanders, and tree frogs!
- Wild bromeliad flowers evolved to attract pollinators, like insects, hummingbirds, and bats. Some are wind-pollinated, too.
- Pineapples, the most famous bromeliads, were once a rare luxury. The first pineapples transported from the New World were considered status symbols and were often displayed prominently. Today, pineapple designs are frequently featured on gates and home entrances as symbols of welcome and hospitality.
Propagation
Bromeliads are monocarps, which means they bloom just once and then die. Propagation is key to keeping your collection alive.
- Wait until pups are at least ⅓–½ the size of the parent.
- Use a sharp, sterilized knife to separate the pup from the base.
- Pot the pup in the same way as the parent plant—either with or without potting mix, depending on the type of bromeliad you’re growing.