



Planting and Growing common broom

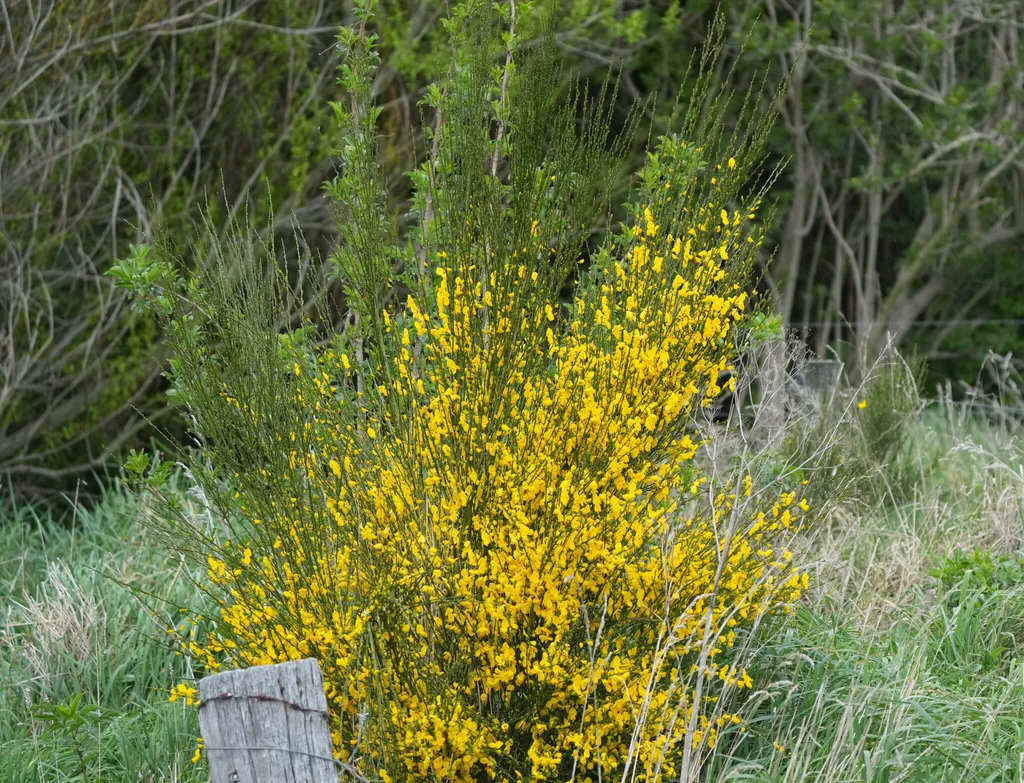
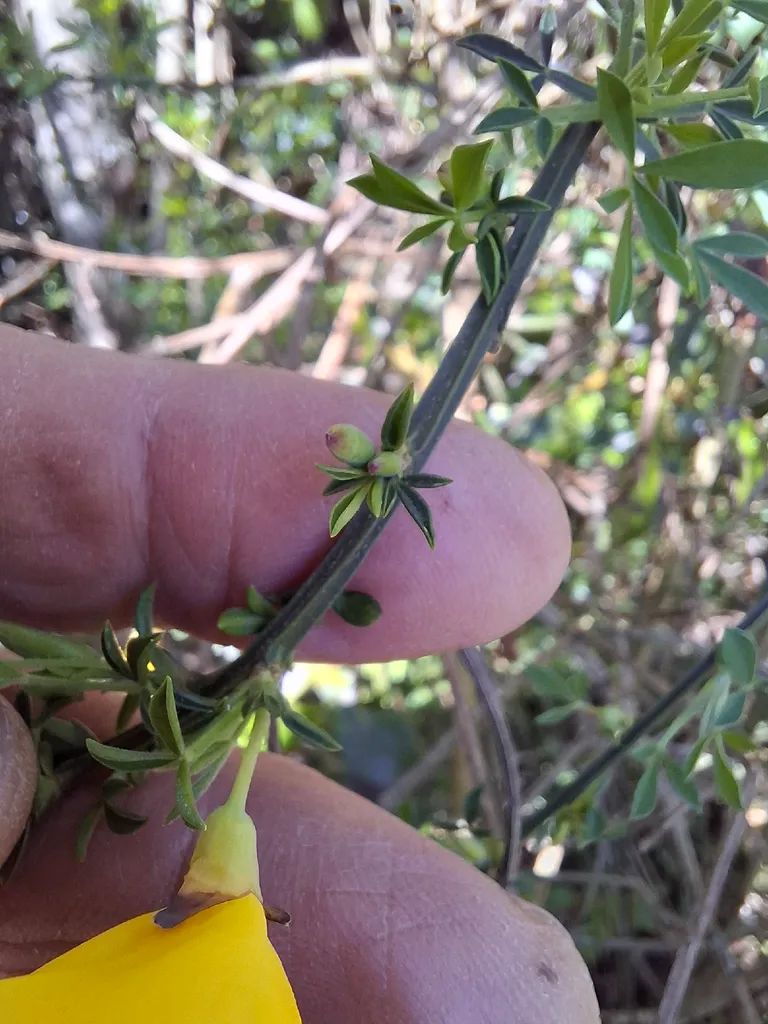
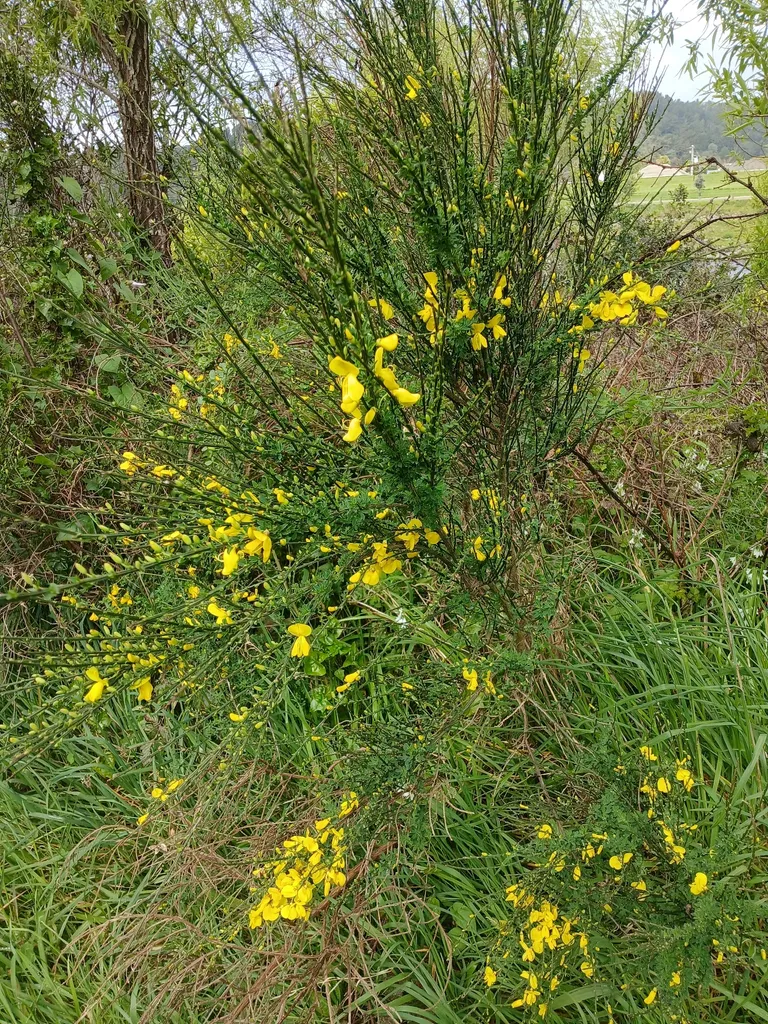
| Care difficulty | 3 / 5 |
|---|---|
| Watering schedule | Moderate regular watering, allowing brief slight drying between soakings |
| Sunlight requirements | Full sun |
| Ideal temperature | 15 – 25 °C |
| Soil type | Loam · Sand |
| Soil pH | Acid · Neutral |
| Soil moisture | Well drained |
| Fertilizing | Balanced perennial feed every four weeks from spring through summer |
| Toxicity | Harmful if eaten. Wear gloves and other protective equipment when handling |
How to Water common broom?
Originating from the dry, sandy soils of Western Europe, scotch broom is well-adapted to environments with infrequent rainfall. This species thrives on a balance of moisture and drought tolerance, requiring watering once every 1-2 weeks to mimic its natural habitat conditions. As an outdoor plant often found in open fields and roadsides, scotch broom benefits from full sun exposure which aids in its water regulation during the active growing season.
Learn more →What Are the Sunlight Requirements for common broom?
Scotch broom thrives best in full sun, where the intensity and duration of light promote optimal growth, health, and abundant flowering. While scotch broom can tolerate partial sun, reduced light levels may result in diminished flowering and vigor. Scotch broom is highly adaptable and can regulate its leaf orientation and color to maximize light absorption, enhancing its resilience in less than ideal sunlight conditions. Ideally planted outdoors, scotch broom should be positioned in unobstructed areas where it can receive direct sunlight for most of the day.
Learn more →What Is the Ideal Temperature Range for common broom?

Scotch broom is notably resilient to temperature fluctuations, showing tolerance to cold down to -20℃ (-4℉) and heat up to 35℃ (95℉). This hardiness makes scotch broom suitable for various climates but also signals a need for careful monitoring. Under cold stress, it may exhibit leaf burn or dieback, while overheating may cause wilting or leaf drop. To protect scotch broom during extreme cold, consider mulching and using frost blankets. During intense heat, ensure adequate watering and provide shade if necessary. These temperature tolerances inform its care, facilitating its successful cultivation in a wide range of environments.
Learn more →What Soil Is Best for common broom?
Scotch broom prefers well-drained soil with good aeration. A suitable mix includes garden soil blended with sand or perlite to enhance drainage. If sand or perlite is unavailable, use coarse horticultural grit. Avoid water-logging by ensuring containers have proper drainage holes or using raised beds. Consider adding a balanced, slow-release fertilizer during the growing season to boost growth.
- Soil type
- Loam · Sand
- Soil pH
- Acid · Neutral
What Are the Moisture Requirements for common broom?
Well drained
Learn more →How to Fertilize common broom?

For scotch broom, optimal fertilization enhances growth and bloom. Use balanced fertilizers (10-10-10) biannually, during spring and fall. Apply following package guidelines, typically 1 cup per plant. Over-fertilizing risks harming native ecosystems. Seasonal variances should guide application: more in growing season, less when dormant. Always water after application to reduce root burn risk. This targeted feeding schedule sustains vigour and flowering in scotch broom, while safeguarding its natural habitat.
Learn more →How to Prune common broom?

Scotch broom is an invasive shrub known for its bright yellow flowers and rapid spread. Key pruning techniques include cutting back old or dead wood and shaping the plant to maintain form. The optimal time for pruning is later spring, just after flowering, to encourage healthier regrowth and control its spread. Regular pruning prevents it from becoming leggy and helps manage invasive tendencies, promoting stronger, more compact growth.
Learn more →How to Propagate common broom?

Scotch broom spreads primarily through cuttings and layering, during autumn and winter. Propagation is moderately easy, and success is indicated by new shoot growth. Ensure cuttings have a node and keep soil moist for optimal results.
Learn more →How to Transplant common broom?
For scotch broom, the commencement of the growth cycle, typically at the break of spring, provides prime transplanting conditions due to milder temperatures and damp soil. Choose a sunny site with well-drained ground to support scotch broom's development. Gentle handling assures root integrity during this critical transition.
Learn more →How to Plant common broom?
Indoors-potted: When growing scotch broom indoors, ensure ample space as this shrub can grow quite large. Regular pruning will maintain its shape and encourage flowering. Outdoors-potted: In an outdoor pot, scotch broom may not reach its full size but still needs room to spread. Choose a spacious container with good drainage. Outdoors-in the ground: Scotch broom thrives outdoors, requiring minimal care once established. However, be cautious of its invasive potential; it's best contained in designated areas.
Learn more →How to Repot common broom?
Repot scotch broom during late winter before the spring growth surge to support its rapid seasonal expansion. As a bushy shrub, scotch broom thrives best in large, deep containers that accommodate its root system. Every 2-3 years, upgrade to pots that are several inches wider. Post-repotting, ensure scotch broom receives ample sunlight and moderate watering to encourage robust growth without root rot risk.
Learn more →Common Pests & Diseases

Diseases
May be susceptible to honey fungus
Pests
May be susceptible to broom gall mites
Explore the plant health library →Troubleshooting
Leaf Scorch, Yellowing Chlorosis, or Root/Crown Decline
common broom (Cytisus scoparius) depends on deep, well-drained soil and appropriate sun/moisture balance; waterlogged roots, drought stress, or unsuitable soil pH quickly show in foliage color.
| What you notice | Possible explanation | What to check next |
|---|---|---|
| Leaf margins turn brown and crispy in summer heat, or young foliage wilts despite adequate sunlight | Drought stress, drying winds, or afternoon sun scorch (especially on newly planted trees/shrubs) | Check soil moisture 10–15 cm (4–6 inches) deep and assess afternoon sun and wind exposure |
| Leaves turn pale yellow between dark green veins or whole canopy yellows and thins | Unsuitable soil pH locking up iron/manganese or poor drainage causing root rot | Test soil pH and inspect root-zone drainage after heavy rain or irrigation |
- Plant in well-drained soil suited to its pH needs (Acid, Neutral pH) in full sun, mulching the root zone with organic bark or leaf mold kept clear of the trunk.
- Water deeply during dry spells, especially in the first two years after planting: Moderate regular watering, allowing brief slight drying between soakings.
- Protect frost-tender or container-grown woody species before winter freezes.
If sudden branch dieback with dark vascular streaking or mushroom growth at the base occurs (suspected Verticillium wilt or honey fungus), prune out dead wood cleanly and consult local extension diagnostics.
Poor Flowering/Fruiting or Sap-Sucking Pests and Mildew
Insufficient sunlight, improper pruning timing, or dense unpruned canopies can reduce blooms and fruit while encouraging aphids, scale, caterpillars, or powdery mildew.
| What you notice | Possible explanation | What to check next |
|---|---|---|
| Vigorous leafy shoots with few flowers or poor fruit set | Excessive shade, high-nitrogen fertilizer, or pruning off old-wood flower buds at the wrong season | Review daily sun hours, fertilizer ratio, and pruning timing |
| Curled sticky new shoots, white powdery leaf coating, or chewed foliage | Common pests (May be susceptible to broom gall mites) or fungal issues (May be susceptible to honey fungus) | Inspect shoot tips, leaf undersides, and inner canopy airflow |
- Prune at the appropriate seasonal window: Shorten flowered shoots to vigorous sideshoots; remove about a third of stems at ground level annually. Prune immediately after flowering..
- Thin crowded interior shoots to improve sunlight penetration and air circulation, and clean up fallen leaves in autumn.
- Blast aphids off sturdy shoots with a firm water spray or use insecticidal soap per label instructions.
Avoid late-summer nitrogen feeding, which forces soft late growth vulnerable to early autumn frost.
The Toxicity of common broom
Harmful if eaten. Wear gloves and other protective equipment when handling